Showing posts with label breakfast. Show all posts

Monday, June 9, 2014

Food Storage recipes

Had the opportunity to take this cuteness (forgive the wind blown hair and cracker on her lip)
 to the Zoo in Salt Lake not long ago.
Excuse the side track...
 
While in the Salt Lake, we took the opportunity to visit the Church Distribution Center.
That is where I picked up 11 free recipes using Food Storage.
 Isn't that exciting?!!
I thought so, now I want to share them with you!
 
There are:
5 using Wheat
2 with Rice
2 with Pinto Beans
2 with Oats
 
 
Here are a few to try, with more to come later.
 
Blender Pancakes
 
1 c. wheat
1 1/2 c. milk  (Think powder milk!)
1 egg
3 T. sugar
1 t. salt
1 T. baking powder
2 T. oil
 
Directions:
Combine wheat and 1 cup of milk in blender. Blend on high for 1 minute. Add remaining ingredients and blend until smooth. Cook on hot griddle. Serve with favorite topping.
 
Yields: 6-8 servings
 
Here is another breakfast idea using your Wheat...
 
Whole Wheat Cereal
 
1/2 C. Whole Wheat Kernels
2 C. boiling water
 
Directions:
In a small grinder, put 1/2 c. Whole Wheat. Grind until fine.
Bring 2 cups of water to a boil. Pour in the ground wheat. Turn heat down a bit so it does not boil over. Cook and stir constantly for 10 minutes. Pour into bowl and add a little sugar and milk. Serve and eat.
 
Yields: 2 servings.
 
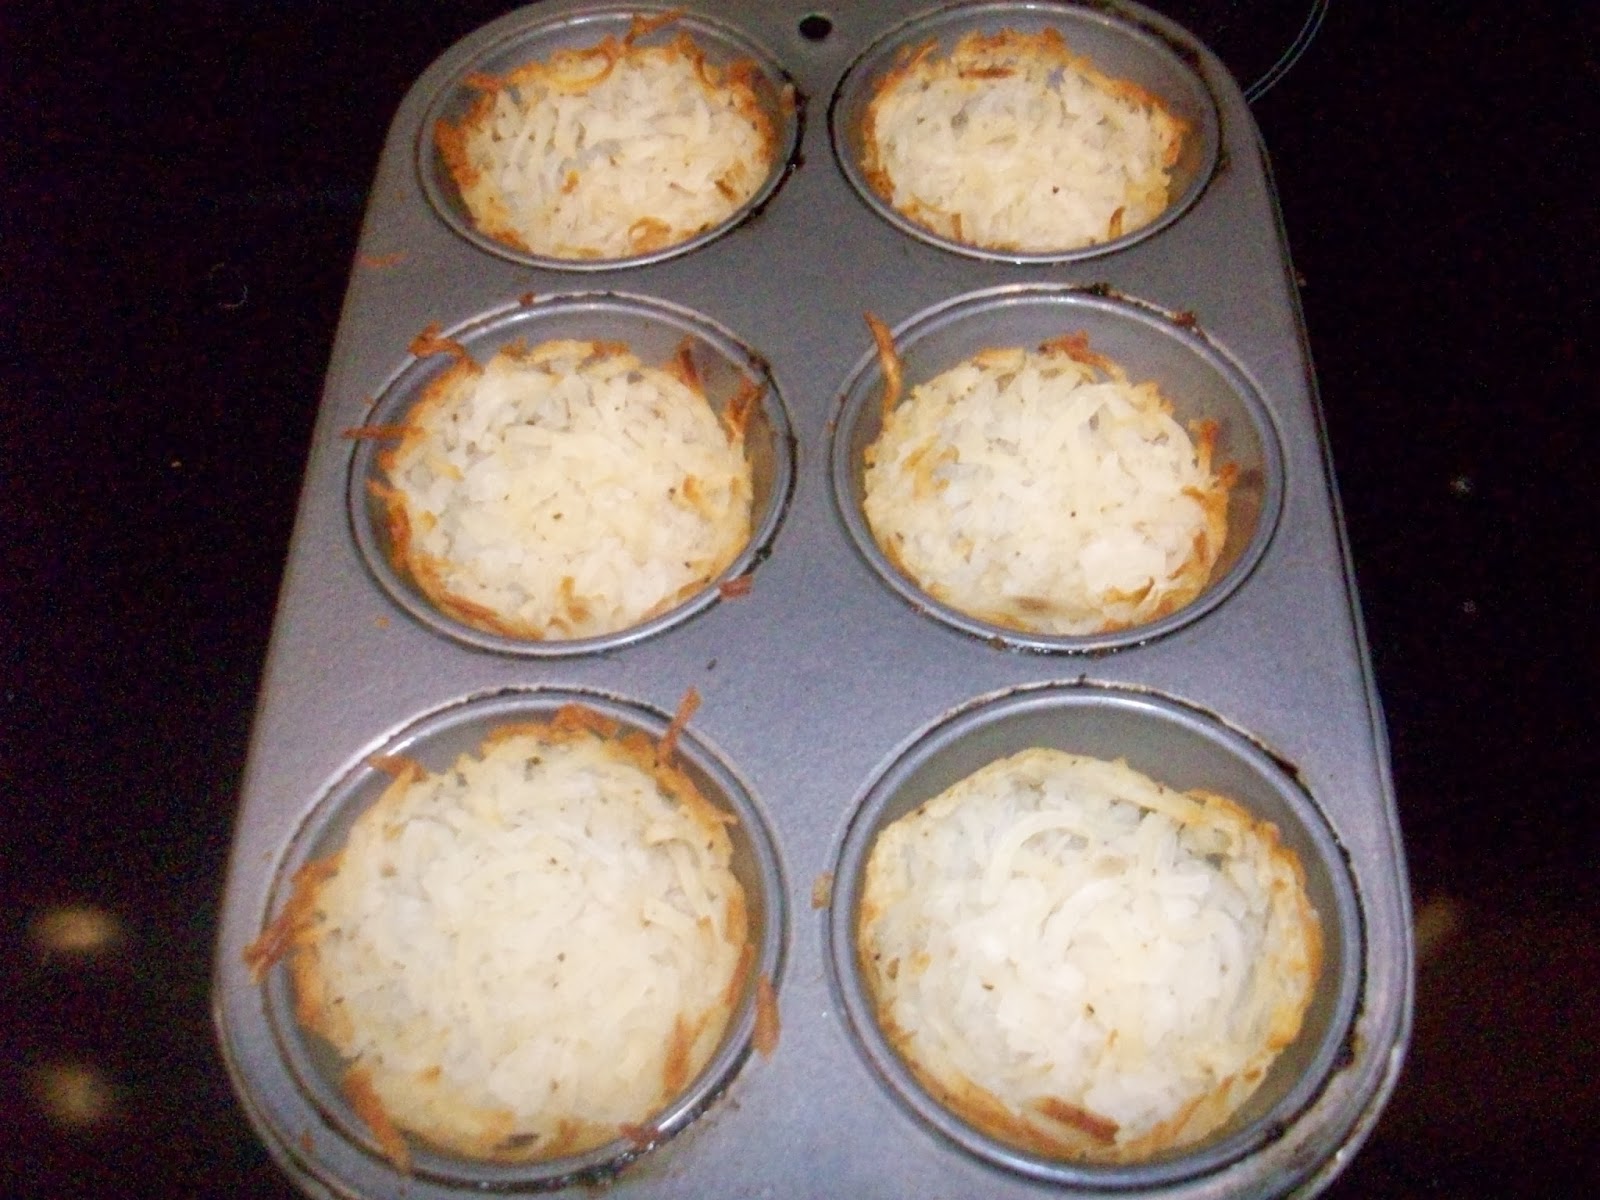
LOVE these Whole Wheat Muffins
 
2 C. Whole Wheat Flour
3 T. Vegetable Oil
3 1/2 t. baking powder
1/2 C. Honey
1/2 t. salt
1 1/2 C. Milk
1/2 C. Raisins
 
Directions:
Mix ingredients together with minimal mixing. Fill well oiled muffin pans 2/3 full.
Bake at 350 degrees for 20-25 minutes.
 
Yields: 1 dozen
 
Instant Oatmeal packets
 
Directions: In a snack size baggie, put 1/2 cup quick oats with any of the following:
 
Raisin and Brown Sugar
1 T. packed brown sugar, 1 T. raisins 
 
or
 
Apple Cinnamon
1 T. packed brown sugar, 1/4 t. cinnamon, 2 T. dried apples, chopped.
 
or
 
 Cinnamon Spice
1 T. packed brown sugar, 1/4 t. cinnamon, 1/8 t. nutmeg
 
To enjoy each mix, add 3/4 water. Microwave 1 minute. Stir and serve.

 
What are YOU making for breakfast?
 

Monday, May 19, 2014

French Baguettes... The Food Nanny


The Food Nanny was a huge Success!
I can't stop talking about what I learned, to whoever will listen to me.
So since I have you as my captive audience let me share some notes with you as I sat listening to this Beautiful woman.
Then if you are a really good listener, I will share her baguette recipe (with her permission).
 
I came home from work the other day and pulled out her first book, looked up the baguette recipe and whipped it up real fast. Then off I went to take dinner in to a friend.
Guess what?
They were amazing. My first attempt too.
 
 
YOU can do it too, and your family, friends or neighbor will Love You!
 
(update: I have successfully made them 5 times in a week since Liz visited the Bloomington Stake! No, I didn't eat them all...I Love giving them away.
Thank you Liz and Thank you sweetheart for book #2 and new baguette pans for Mothers Day!)


Notes from our Stake R.S. Saturday Event with Liz Edmunds...The Food Nanny...

1. Don't eat red meat on back to back nights.
2. Eat no meat at all (meatless dishes) at least 1 to 2 times a week.
3. Eat fresh fish at least once a week, preferably 2 nights a week.
 
How to accomplish this...
1. make a 2-week meal plan.
2. Make a grocery list according to those meals, then go shopping (saves money).
3. Don't deny yourself, just apply portion control.
4. Plan 2 to 3 vegetables with most meals. Canned, frozen or fresh. All are good.
5. Incorporate whole grains, offer fresh or bottled fruit often.
6. A home needs sweet and savory.

SAVES YOU MONEY, KEEPS YOU HEALTHY, AND CREATES FAMILY MEMORIES!

French Baguettes (p. 225)

I will never forget the first time we bought a baguette in France. We all savored every bite. Denser than Italian bread. It is wonderful plain or with butter, and also makes excellent garlic bread and bruschetta. When the kids were young, I would make an extra loaf for French toast the next morning. It makes cute little rounds and tastes so good! I hope you enjoy this recipe. It’s a wonderful comfort bread that goes well with any soup you choose to make!
French Baguette

French Baguettes (p. 225)

2 baguettes
WHAT YOU’LL NEED
1 1/2 cups warm water
1 1/2 T. active dry yeast, (2 packets)
2 tsp. sugar
3 1/4 cups flour
2 tsp. salt
melted butter
WHAT YOU’LL DO
  1. In a small bowl combine 1/2 cup of the warm water, the yeast and 1 tsp of the sugar.  Stir to combine and let mixture stand for about 5 minutes or until foamy.
  2. In a large mixing bowl blend the flour, salt, the remaining teaspoon of sugar and the yeast mixture.
  3. Gradually add remaining water and mix until the dough forms a smooth ball that is not too sticky to handle (if it is too sticky add a little more flour).
  4. Turn the dough onto a floured surface and knead briefly until the dough is smooth and elastic. Cut the dough in half and shape the halves into baguettes.
  5. Grease a baguette pan and place the loaves in the pan.
  6. Score the loaves down the middle, cover with a dish towel and let rise in a warm place for about 30 minutes or until doubled in size.
  7. Preheat the oven to 450 degrees and place a shallow pan of water in the bottom of the oven to create steam.
  8. Bake the baguettes for 15 minutes. If desired brush the tops with melted butter halfway through the baking.
*For a softer crust, brush with butter when they have finished baking.

Monday, April 28, 2014

Egg Nest Breakfast to GO

EGG NEST Breakfast on the GO
 
 
I have a lot of dehydrated hash browns that needed to be put to the test.
 
So I rehydrated some and pressed some into greased muffin tins.
I baked them until I felt like they would retain their shape and be crispy. Cuz that's how I like it.


When they were done to my liking, I poured in some eggs that I beat up and seasoned.


This is them after baking in the oven for 10 to 15 min.

 
 See how handy they are. They would fit right in your hand to eat on the go.


Oh now I'm thinking gravy poured over them would be yummy too if you were to serve them at home and not on the go.
 
They store well in a baggie in the freezer if you make a bunch on Saturday and want to enjoy them through out the week.
That's what I did.
 
Verdict: I didn't Love it, But I didn't hate it either. Just was dry, would defiantly taste really good with some sausage gravy over it. Like biscuit's and gravy.
 
Here is an actual recipe that someone provided.
I just winged it, but you my like to follow along just for fun.
I like their idea of cheese. I think cheese makes everything taste better!
 
1 24 oz. bag of shredded hash browns
2 tsp salt
1 tsp pepper
2 tbs oil (I use olive oil)
1/3 cup shredded cheddar
Bacon bits or 8=10 pieces of cooked bacon, crumbled
Eggs
Extra shredded cheddar
Muffin tin
  1. Take your bag of hash browns and mix in the salt, pepper, oil and 1/3 cup shredded cheese.
  2. Divide amongst the cups in your muffin tin, making sure to grease tin beforehand.
  3. Bake hash browns at 425 degrees for 15-18 minutes or until toasty.
  4. Once they're finished, take them out and lower the temp of the oven to 350 degrees.
  5. Crack an egg into each of the cups
  6. Top with bacon and a sprinkle of extra cheese
  7. Bake at 350 degrees for 13-16 minutes (or until the eggs are as firm as you like them).
  8. Slide a knife along the edges to remove from pan when cooled.


Monday, April 21, 2014

Meals in a Jar (Baked Ziti)

Meals in a Jar?!
 
Just another Great idea to add variety to your pantry.
Assemble several while you are at it and you will have security and ease ready to go.
 
This is something you could easily put into a Mylar bag and take backpacking, camping, to college or even a surprise for a missionaries comfort meal.
UMMM why not?!
 
Just imagine a shelf full of ready to cook meals that anyone in the family could make.
Security that is said to last 5 to 7 years.
 I LOVE IT!
 
Baked Ziti
 
Brought to you by: Chef Tess and Honeyville

I'm thinking this would make the perfect daughter get together this summer.
I am picturing an assemble line of jars with the girls making lots of make ahead meals in a Jar!
How about you? Every made these or tasted them before.
I am anxious to give it a try!
 

Monday, April 14, 2014

Bacon in a CAN

Yoder's canned Bacon
 
Usually when I purchased what I consider a specialty item like this,
I hoard it and consider it worth gold.
It's not that cheap, and besides when I can still purchase it in the store then I sometimes think it is foolish to use the storage variety.
 
I have heard some great reviews on this stuff and decided it was time to see taste it for myself.


So here ya have it. A can of bacon that I purchased and put on my shelf back in Feb. 2013
 
1st: I opened the top. Note to self...Purchase several manual can openers to keep in your storage. Why? Have you seen your storage? Those cans wont open themselves!
 
 
 Here is a peek into the can. Yep it's bacon alright. All tightly wrapped up and stuffed inside.

 
 Now I dare ya to try and get that roll of goodness out!.
2nd step: Open the bottom of the can so you can push it out and keep it still in one piece.
It worked perfectly!
 
 
 Here are the pieces of Cooked bacon folded neatly and wrapped up tight. This is what I was so curious to see.
My though was this. Ewe gross greasy wiggly fat. Well it is cooked and yes there is still some grease that has stayed with it in packing. But throw it in the microwave or a pan to crisp up a bit (the way I prefer mine) and you are ready to go.
 
 
What I did with all of my bacon once I opened the can...
I stuffed it in a couple of sandwich baggies and put it in the refrigerator.
 
I made pancakes and bacon, eggs and bacon, green salads with bacon bits, potato salad with bacon, pizza topped with bacon bits, and just whatever else I felt like having. It lasted a few weeks and was so nice to know it was there and ready to go. All I did was warm it up and pat away the grease with a paper towel.

 I Loved the ease of it all.
So glad I have several more cans!
Would I recommend this to my friends and family?
ABSOLUTELY!

Monday, April 7, 2014

The Food Nanny


Guess Who is coming to the Bloomington Stake?!
Make a Plan to be there 5/3/14


The Food Nanny
The Food Nanny


  About the Food Nanny  

Food Nanny Liz Edmunds wants to help you make over your dinnertime routine! For over 20 years, this vivacious dinner coach, author, and mother of seven has helped bring countless families back to the dinner table, night after night, for delicious meals and memorable conversations.


Nothing can replace family dinner. The Food Nanny philosophy is built around the idea that the most important thing you will do each day is cook dinner for your family and sit down together to eat. The smells and chemistry that permeate the home throughout the dinner hour are without substitute. Research has shown that kids who eat dinner with their parents are healthier, more advanced in literacy, and less likely to get involved in drugs and alcohol. You can make a more unified, happier family in just one hour a day.

The key to a successful family dinner all comes down to planning. My famous Nanny Plan liberates you from the hassle of last-minute meal planning. Never again will you be faced with inventing a meal at 5pm! Using my Theme Night system each week is the best method for success. Your family will have something to look forward to if you choose consistent weekly themes. My Nanny Plan will also simplify your shopping efforts and reduce trips to the store.

The proof is in the pudding. Or in the cinnamon rolls. Or in the pot roast. Whatever foods your family loves, I’ve got the recipes to put smiles on the faces of even the pickiest eaters. My recipes are easy to make and delicious to boot. You’ll get a sampling of them in the online Nanny Plan, but for a complete list of mouthwatering recipes, my book The Food Nanny Rescues Dinner is your best bet.

Monday, March 10, 2014

Breakfast on the GO

One Saturday morning I got a little creative with
 Breakfast.

On weekdays I don't get up early enough to eat a decent breakfast. (I know, breakfast is the most important meal of the day...but my beauty sleep is more important:)

This is what I gathered...

pancake mix: The just add water kind, plus it has at least a years expiration. Perfect for short term storage.

Chocolate chips: A must have in your my storage!

Blueberries: My husband eats them every morning in his oatmeal. So I best be having them stored up in the freezer at least.

Sausage: I had some in the freezer, but I have bottled some as well.


 Just mix up the pancake mix with water as directed on the package. Then I poured some into the muffin tins (I sprayed the tins first with some cooking spray).
Then I took a sausage and cut one up into a tin, then added some blueberries into some others (not together in the same muffin).
Then I topped off the muffin tins with more pancake mix to cover the add ins.

 
 I should have followed the same instructions for the chocolate chip ones. I sprinkled the chips on top so I would be able to recognize which was which. Not a smart move. They were too melty on top and didn't store as easily, because the chocolate chips got all over the baggies. Adding them to the center would have been smarter.

 
 This is the finished product as they came out of the oven.
Remember they are pancakes, so they will not brown up like a cupcake or muffin.
 

These were my favorite! The sausage was a nice treat.


 Disclaimer: If you eat these thinking to yourself. Yum muffins...No they wont be Yum at all.

They are pancakes, so they will not taste like muffins.
But still good. I have taken them in the morning on the go and enjoyed them.

If you were to serve them at home and not on the go, then offering some pancake syrup to dip in would be the Perfect touch!


Monday, December 23, 2013

Real Cream Of Wheat

My husband enjoys a bowl of oatmeal every morning. Yes he makes it himself too.

Oats Rolled Quick

I prefer a bowl of Cream Of Wheat instead...or also known as Germade.

Germade

Well, I just came across this post from a gal who shows you how to make your own Cream Of Wheat from Wheat kernels...You know, those buckets and buckets of stuff you have obediently stored and don't know what to do with.

I Love tutorials. I guess I am a visual kind of person. I hope you will enjoy the instructions and pictures of How to make your own Cream Of Wheat...
courtesy of http://eatingfoodstorage.blogspot.com/ Thank You! Thank You!

REAL Cream of Wheat
Have you ever made homemade cream of wheat?  It does not even resemble the stuff you buy in the box and it is YUMMY, and so good for you.  I made some this week and took pictures in case you have not tried it. 

First you need to grind the wheat very coarsely.  My electric wheat grinder can't do coarse enough.  My hand grinder can but it's too big of a pain to drag out so I use this handy little coffee grinder.  (You can also use a blender with the pulse setting.)

Just put a handful of wheat in there and grind it until it looks roughly like this:


I actually usually don't do it quite this fine because I like the larger pieces in my cereal. They kind of pop in your mouth when you are eating them and they are SO good! Anyway, once you grind your wheat, bring about 1 cup of milk and a pinch of salt almost to a boil on the stove and then add 1/2 cup of your ground wheat. Whisk it to prevent lumps.


Cook over low heat 10-20 minutes depending on how fine you have ground your wheat.  Use the longer time for more coarse wheat.  You also may need to add more milk to get the desired thickness.  Continue to stir occasionally.  When the cereal is cooked add a half a tsp. of vanilla and brown sugar if you want - I definitely do!


Yea I do stir that in before I eat it  :)

One of my favorite breakfasts on a cold morning, and it is really good for you (minus the brown sugar maybe  :)

Monday, August 12, 2013

Low sugar Strawberry syrup

I am a HUGE fan of Canning.

I Love to see bottles of fruits, vegetables, and condiments over flowing on my storage shelves.
So I thought this was a MUST pass on recipe that I found on Pinterest.
I have made boysenberry syrup many years ago and LOVED it,
 however I don't remember straining the seeds at all.
So read the recipe and decide for yourself how you would like to make it.
I for one, will DEFINATLEY be giving it a try.
 
A Big part of Food storage to me is the simple things.
And pancakes and waffles are simple!


Canning Low Sugar Strawberry Syrup

Isn't this such a pretty jar of goodness?!
recipe found here:
(Text below is straight from the blog Creating Nirvana Today)
 
 The biggest thing that I have learned about making syrup is that you have to strain the syrup well. Strawberry seeds are very small, and you don’t want to open up a jar of strawberry syrup in three months to discover lots of little tiny strawberry seeds sitting at the bottom of your strawberry syrup. To combat this problem, I strain my strawberry syrup with a fine mesh strainer lined with a double layer of cheese cloth. This ensures that I get pure ruby red syrup.

Strawberry syrup for canning is thin unlike the commercial syrups found in the grocery stores, so if you want thick syrup, then heat the syrup on the stove and mix in a little cornstarch before serving. I don’t mind thin syrup. I prefer to use syrup to lightly coat my pancakes with a little flavor and sweetness without drowning them in the gooey mess. This recipe is even thinner that a heavy sugar recipe, but again I am not a fan of giving my kids tons of sugar. A little sweetness on pancakes is fine, but feeding them a bowl of white sugar in the morning is not good in my opinion.

Ingredients modified from Pick Your Own and Blue Book Guide to Canning (yield about 6 half pint jars)

6 ½ cups strawberries, hulls removed and crushed
5 cups water
2 tbsp. lemon juice
4 ½ cups sugar

Directions

1. Place the strawberries water in a large saucepot over medium heat. Boil the mixture for 5 minutes.

2. Strain the strawberries with a fine mesh sieve lined with a double layer of cheesecloth or with a jelly bag. My strawberries took about 5 minutes to fully strain since they were small.

3. Place the strawberry juice back in a clean saucepot. Add the lemon juice and sugar to the strawberry juice. Boil the strawberry syrup for 5 minutes.

4. Place the strawberry syrup in hot sterile jars. Leave ¼” headspace. Place lids on the jars. Adjust the bands around the jars and lids to fingertip tight.

5. Process the strawberry syrup for 10 minutes in a boiling water bath.

Monday, January 28, 2013

Germade


For the month of January we focused on Breakfast foods for storage. This is one of the items we offered that I purchased. I love me some cream of wheat.


Germade


Directions:
For 1 serving, bring 1 cup milk or water to boil, slowly stir in ¼ cup germade, and cook for 2 minutes.


 My husband eats a bowl of oatmeal everyday for breakfast. Its easy to store and has a long shelf life. I don't have anything against the stuff, I will eat it, however I prefer it in cookies. I have always thought an oatmeal cookie with raisins was an excellent choice for breakfast.

Here is another way to use your Germade for breakfast or a snack. Thanks to www.ldsmomtomany.blogspot.com


Germade / Farina Muffins

1 cup Farina or Germade
1/2 cup Whole Wheat Flour
2 cups White Flour
1 1/2 cups Sugar
2 tbsp Baking Powder
1 tsp Salt
2 beaten Eggs
1/2 cup Vegetable Oil
1 1/2 cups Milk

Mix the dry in one bowl and the wet in another.
Whisk the dry ingredients together, and then using the same whisk, whisk the wet ingredients.
Next pour the wet ingredients into the dry and combine gently with a spoon until just combined.
Do not over mix.
Bake at 400 degrees in a greased muffin tin.

Makes 24 muffins.


Now that doesn't sound like Food Storage does it?
NO, just plain common sense!

Tuesday, January 22, 2013

Cake Mix / Breakfast


Having a hard time thinking about what to fix the kids for breakfast that will keep them at the table...or get them out of bed?

Not long ago I was able to pick up a bunch of cake mix for a steal! Did you know there are a TON of things you could make with a cake mix?

Like Breakfast!!

Yes I call this FOOD STORAGE.
 Especially if I have @ 60 boxes on my shelf.


What Kid would turn thtese away in the morning?
Put some ice cream in the middle and really become a super hero!


While you have your waffle iron out, try this.
I think it would perfect with all the dehydrated hash brown I have!

Pinned Image

Monday, January 14, 2013

Copy Cat Egg McMuffin / Provident Living Style

Now here is a concept I have never seen or thought to do. BRILLIANT idea that I plan to do try right away! It allows you to plan and prepare ahead of time and have a healthy breakfast now and later (because they freeze well).


All you have to do is set your oven to 350F, grease a muffin tin with non stick cooking spray, and crack your eggs into the tin. Then add some flavor with a little shake of salt and pepper. Bake for about 17 minutes and viola.


Now assemble it however you like it.


IMG_0332.jpg

This is where the "Provident Living" comes into play.
Prepare it once, and enjoy it for many days later.
Egg_McMuffins2.jpg
IMG_0521.jpg IMG_0372.jpg

I Love this idea. Doesn't it look YUMMY and Healthy too?!

IMG_0534.jpg
source: TheYummyLife.com

Monday, January 7, 2013

Grab and Go breakfast / snack


Ever since Christmas break I have had a hard time getting myself motivated to get up and  get going. It's just too dark and too cold in the morning. Not that I have a choice, cuz the kids are at the bus stop waiting for me. Some are even crazy enough to be out there in shorts and no jacket.
Anyway, I have come across a few recipes that would be nice to grab and go in the morning. Besides, I have the ingredients to try this. And if it is ingredients that I usually have on hand...then it qualifies as food storage!
So, here ya go...


healthybody-andsoul:

Banana Chocolate Chip Baked Oatmeal Singles
Serves 18
3 cups old-fashioned oats
1/2 cup packed brown sugar
2 tsp. baking powder
1/2 tsp. salt
2 egg whites
1 egg
1 1/4 cup skim milk
3/4 cup mashed bananas
1 tsp. vanilla extract
3/4 cup semi-sweet chocolate chips
Preheat oven to 350°. Lightly mist 18 cups in a muffin tin with cooking spray.
Combine the oats, brown sugar, baking powder and salt in a large bowl and stir until thoroughly mixed.
In a separate bowl, whisk together the egg whites, egg, mashed banana, milk and vanilla. Add to the dry ingredients and stir until blended together. Mix in chocolate chips.
Spoon the oatmeal mixture evenly between the prepared muffin cups. Bake uncovered for 18 to 22 minutes or until oatmeal is lightly browned and a toothpick inserted into the middle comes out clean.

Banana Chocolate Chip Baked Oatmeal Singles
Serves 18
  • 3 cups old-fashioned oats
  • 1/2 cup packed brown sugar
  • 2 tsp. baking powder
  • 1/2 tsp. salt
  • 2 egg whites
  • 1 egg
  • 1 1/4 cup skim milk
  • 3/4 cup mashed bananas
  • 1 tsp. vanilla extract
  • 3/4 cup semi-sweet chocolate chips
  1. Preheat oven to 350°. Lightly mist 18 cups in a muffin tin with cooking spray.
  2. Combine the oats, brown sugar, baking powder and salt in a large bowl and stir until thoroughly mixed.
  3. In a separate bowl, whisk together the egg whites, egg, mashed banana, milk and vanilla. Add to the dry ingredients and stir until blended together. Mix in chocolate chips.
  4. Spoon the oatmeal mixture evenly between the prepared muffin cups. Bake uncovered for 18 to 22 minutes or until oatmeal is lightly browned and a toothpick inserted into the middle comes out clean.
Source: healthybody-andsoul

Thursday, October 4, 2012

Breakfast, Lunch, Dinner and Dessert all in One

Another recipe from our Relif Society Prepardness night.

This one is simple and can be used for Breakfast, Lunch or Dinner. I know, because that is when I have enjoyed it.

This is the recipe as printed in the "worldwide ward cookbook" page 36


Swedish Pancakes
6 eggs
1 cup flour
1/2 tsp. salt
2/3 Cup Sugar
2 Cups milk

Beat eggs. mix dry ingredients. Add milk and dry ingredients to the eggs.
This batter is thin. Cook on a griddle or fying pan; add butter or coconut oil to the griddle or frying pan after each batch. Eat plain or with powder sugar, jam or other toppings. The recipe can be doubled or tripled.


What I did that put it in the garden to table category was to grate up some yellow squash from the garden and add to the batter. It didn't harm the taste at all and gave a bust of vegetable nutrietion without even trying.

Then you can add fruit for a breakfast type dish.


Or some egg sald like we did from the backyard chicken to make it lunch worthy. I even spread some peanut butter and jam on it for lunch and really enjoyed it.


Or sautee some more vegetables from the garden and wrap it all into the crepe and enjoy a tatsy dinner.


Then for dessert throw some fresh or bottled fruit from the garden dust it with some powder sugar and maybe cheat and add a dallop of fresh cream or a scoop of ice cream. Yummers! And it had squash in it...who knew?!


One more tip: I have even made these with powder milk. Now that's real food storage!

HUNGRY YET?

Monday, March 19, 2012

Crock Pot Oatmeal

I have been reading about Steel Cut Oats and their nutritional benefit plus the different ways to prepare it. So I was anxious to try this new method out.

It required cooking in your crock pot over night while you slept so you would wake up to breakfast ready. I liked that idea, but wasn't sure if my new crock pot would handle it. I was afraid it might run too high even on low. So I made it during the day when I could keep an eye on it.

This is what you do.
Get an oven safe type bowl that will fit inside your crock pot.
Add 1 cup of steel cut oats and 4 cups water (or a combination of water and milk) into the inside bowl . Then set bowl into crock pot.


After bowl is placed into crock pot fill the inside of the crock pot with water (about to where the water is in your bowl works well.)
Put lid on and set tempurature to low for 8 hours.

I purchased this small 24 oz. canister of oats at Wal Mart for $3.78.
It was the only Steel Cut Oats they had and I am sure I paid too much. Can't wait to check out my other options. I am sure Costco must have some in bigger quanities.


I happen to make this on a day that I had to be somewhere right when it was due to be done. So I turned it off and ran to my appointment.

This is what I came home to at 10:00 that night. It had sat for 3 hours at this point and was still a little warm.  As you can see, It Worked!

It is amazing how much just ONE cup of oats will make.


So we made up 2 bowls for a late snack taste test, with raw sugar, milk and blueberries.
We really liked it!

The next morning I had another bowl, that I had to warm in the microwave.

This time I added milk, raw sugar, cinnamon, nutmeg, a dash of vanilla and some pumpkin seeds.
Another winner!
I am so full !


Now I played with making this in a bowl set inside the crock pot. However, you can also just cook it directly in the crock pot itself without the extra bowl.

You could make a simple bowl of Oat Meal a MEAL simply by adding whatever was in season.

 Could you imagine some freshly sliced peaches, or apples or berries. Try nuts, peanut butter, chocolate chips or whatever your family loves. Set out several  small bowls filled with items they will love, to make their own creation. See, now you are having a fun family breakfast time together.

Try it, it will make you feel so healthy.

----------------------------------------------------------------------------------------

HERE IS A LITTLE OAT HISTORY...

Oat Groats

oat groats
Oat Groats - Whole grain of the oat, with only the outer hard husks removed, then toasted.

 
Steel Cut Oats
steel cut oats
Steel Cut Oats or Irish Oats- These are groats which have been cut into two or three pieces. Cooking time is considerably longer than for rolled oats. Typical cooking time for Steel cut oats or Irish oatmeal is about 20 minutes.
Steel cut oats are bigger pieces of oatmeal.


Scottish Oatmeal

scottish oatmeal
Scottish Oatmeal - is very similar to Steel Cut Oats, but are cut a lot more and much finer. They seem to cook much quicker, in about 5 minutes instead of 20.

Rolled Oats

rolled oats
Old Fashioned Rolled Oats - These are made by steaming the groats and flattening them with a roller.

Quick-cooking rolled oats -- These are made by flattening pre-cut groats. They cook in about 5 minutes.

Instant Oats- are usually packaged with salt and sugar.