"The Lord giveth no commandment unto the children of men save he shall prepare a way for them that they may accomplish the thing which he commandeth them" (1Nephi 3:7)
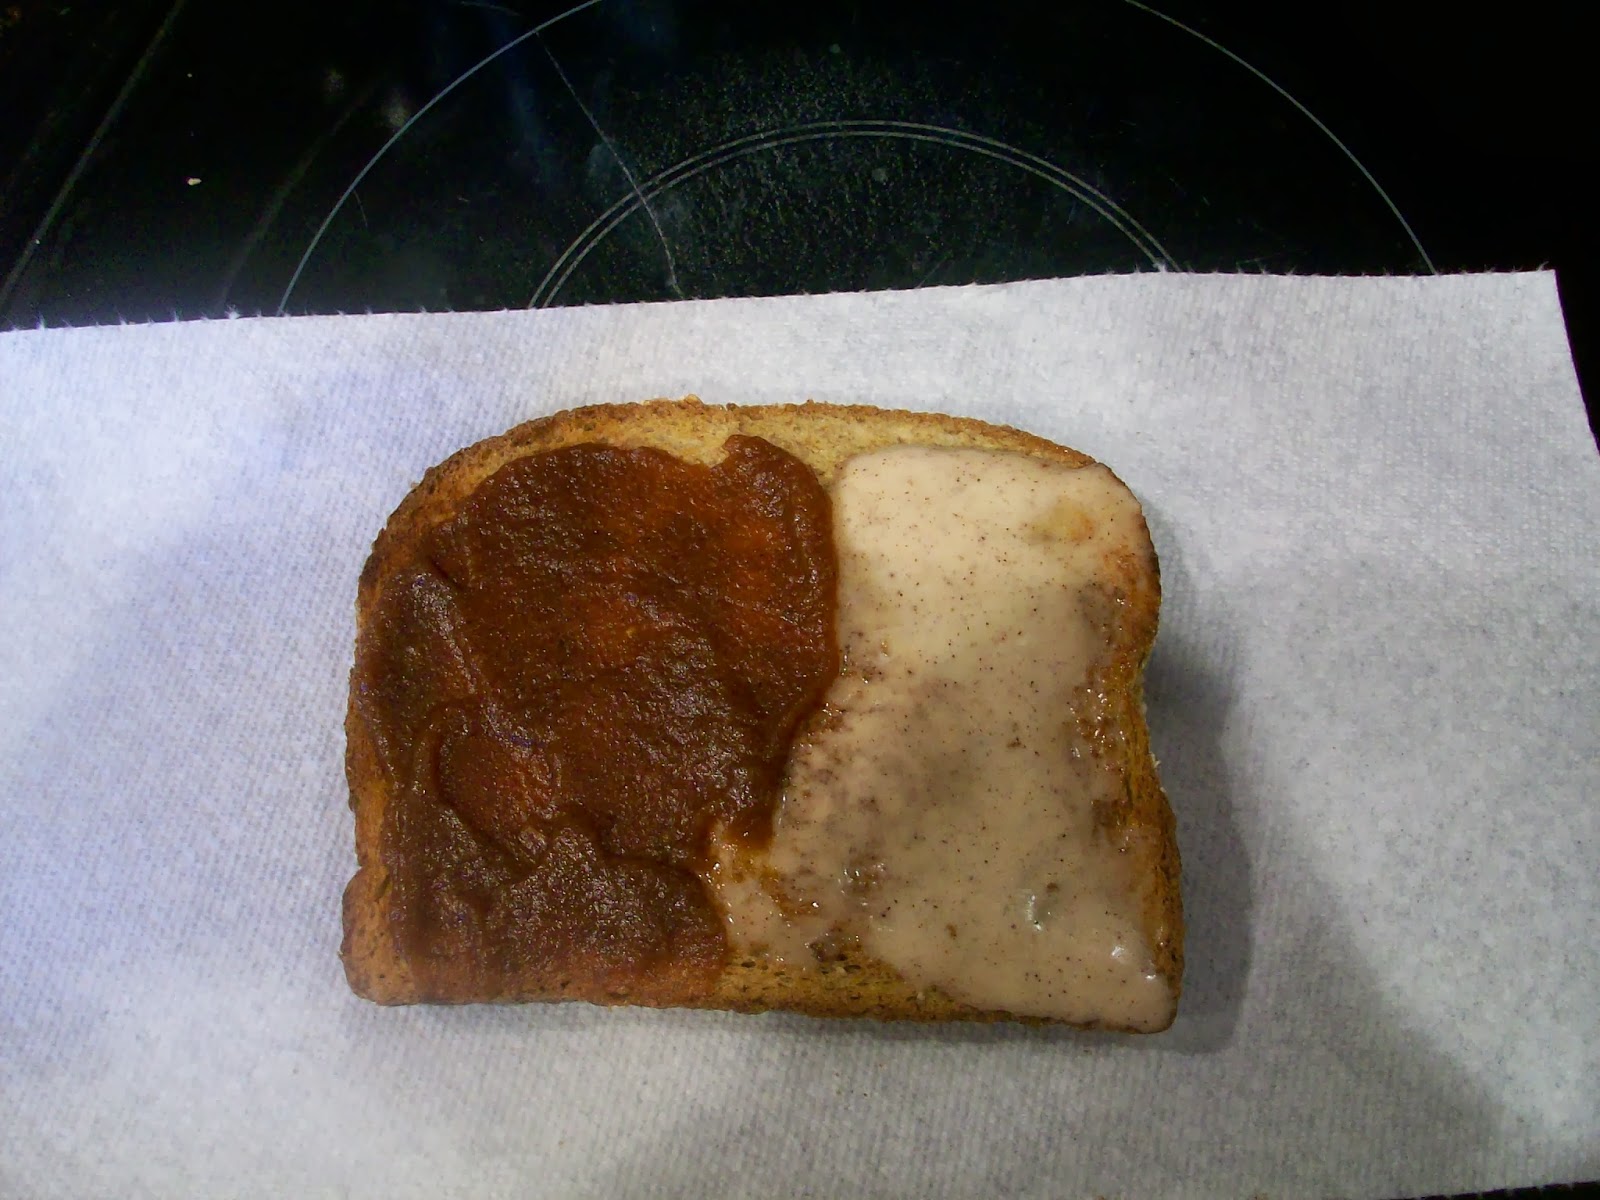
Do you still have some Pumpkins laying around as your Fall and Holiday decorations? Well don't let them go to waste. One year we must have had a couple of dozen in our garden begging to be used. This recipe would have come in handy back then.
Ingredients Original recipe makes 8 half-pint jars
1 cupwhite sugar
2 tablespoonsground cinnamon
1 tablespoonground cloves
1/2 teaspoonground allspice
1 (5 pound)fresh pumpkin - seeded, peeled, and cut into 2-inch cubes
Combine the sugar, cinnamon, cloves, and allspice in a bowl. Place about 1/4 of the pumpkin into the bottom of a slow cooker, and sprinkle with 1/4 of the sugar mixture; repeat layers 3 more times. Cover the slow cooker, set it on Low, then cook for 8 hours or overnight. Stir once or twice during cooking. When the pumpkin is a dark, golden color, place an immersion blender into the slow cooker, and blend the pumpkin butter until smooth.
First I sent the husband out to pick some apples off our tree out back. Then I got real smart and went to my pantry for this amazing gadget...
It doesn't get much easier then this.
Peel, Core and Slice, all in the turn of the handle.
BRILLIANT!
Then I tossed a bunch of apples into my crock pot.
Haven't a clue how many it was, I just filled the pot to the top.
Mixed up all of the spices and coated the apples real good.
Turned it to High for an hour, put the lid on and walked away.
In case you are wondering...NO liquid is added.
After an hour I stirred it up real good, and turned it down to Low for at least 11 hours and went to bed.
This is what I woke up to. (No I didn't sleep for 11 hours...sounds tempting though)
Then the recipe said to remove the lid so the apples juices can reduce down some more to the consistency you desire.
I think I let it go longer then an hour to get it the way I wanted.
No big deal though. Just do it however you want.
When I had decided that it had cooked long enough.
I used my hand blender thing and had some fun.
Not bad, I thought it looked fine. After all I have never had it before.
But it looked like other pictures enough.
Notice how much it cooked down. That pot started FULL.
Now for the taste test. I thought is was good enough. Of course I could have added more spices and that would have been fun. Next time I probably will. I have a hard time following a recipe. The problem was that I didn't follow how many apples to start with. I just filled the pot.
But I would still call it a success.
Heck, you could just eat it like apple sauce if you wanted .
After all it is just apples, sugar and spices.
Curious about the other half of my test bread?
Next week I will share what else I whipped up for the first time. (It was delicious!)
This is how much I was able to make from a full pot of apples.
I stored it in the freezer until I need it for the activity I volunteered to bring it to.
Here is a recipe to get you started. Change it up with whatever variety of apples you have and the spices you use. I doubt you could really go wrong. I even used brown sugar along with some white. Have fun and enjoy the aroma that permeates your home
Its FALL after all.
All Day Apple Butter
4 cupswhite sugar
2 teaspoonsground cinnamon
Directions
Place the apples in a slow cooker. In a medium bowl, mix the sugar, cinnamon, cloves and salt. Pour the mixture over the apples in the slow cooker and mix well.
Cover and cook on high 1 hour.
Reduce heat to low and cook 9 to 11 hours, stirring occasionally, until the mixture is thickened and dark brown.
Uncover and continue cooking on low 1 hour. Stir with a whisk, if desired, to increase smoothness.
Spoon the mixture into sterile containers, cover and refrigerate or freeze
Been thinking about the load of fresh corn on the cob that is coming this week.
Last year we bagged a ton of it and put it in the freezer. SO Good!
So I checked out Pinterest for other suggestions on what people do with their corn.
Check this out. So easy.
No big pot of water, No standing out by a hot BBQ grill and No heating the oven.
Crock Pot Corn on the Cob
You can either, shuck your corn then wrap them individually in foil and put them in the crock pot without water and cook them on High for 2 hours.
(you can even smear them with butter or a butter mixture with spices before you wrap them in foil. Should be a hit!)
OR
Just throw them in the crock pot with the husk still on them, still no water is needed, cover and cook on high for 2 hours.
(you can either pull the husk down and remove the silk then put the husk back over the corn before you cook them. Or just trim the top of the silk off. Less work to just leave the husk on I think. After they are cooked the husk and silk come off real easy)
I was ready for a cup of hot chocolate and found that my cupboard was bare. I was determined to make it myself this year.
There were too many distractions at the time, so we loaded our cart with a few yummy sounding flavors while at the store.
After we opened the can, we were shocked to see that it was only about 1/2 way full. Crazy marketing ploy. Large can on the outside, nothing on the inside.
So off to the Internet to see how it is done. Here are a few that might interest you. I know I am going to whip some up real soon. Those 1/2 full or 1/2 empty cans (however you see the cup) are almost empty for reals.
1 cup dutch processed cocoa ( or use Hershey's special dark cocoa, I have also used 1/2 baking cocoa and 1/2 dutch processed, but it works best with at least 1/2 dutch processed cocoa because it gives it a richer taste.)
1 cup chocolate chips
1/8 teaspoon salt
Mix all ingredients together in a food processor and mix until chips are finely chopped. Depending on the size of your food processor you may have to do a few batches. (I think this also could be done in a couple of batches in a blender.) To serve you can do this two ways:
4 to 5 tablespoons hot chocolate mix with 1 cup hot water Or for a creamier hot chocolate: Mix 3 to 4 tablespoons hot chocolate mix with 1 cup of milk. (This is my favorite way to drink it)
For the variations:
Homemade Butterscotch Hot Cocoa: Substitute butterscotch chips for the chocolate chips. Homemade Mint Hot Cocoa: Substitute Andes mints for the chocolate chips Homemade Cinnamon Hot Cocoa: Substitute cinnamon chips for the chocolate chips. Homemade Dark Chocolate Hot Cocoa: Substitute special dark chips for the chocolate chips.
Mix all the ingredients together in a large bowl. If a finer consistency is desired, you can pour the mix into a blender or food processor and run it through that. Store in an airtight container. Add 1/4 to 1/2 cup (depending on your cocoa preference) of the mix to an 8 ounce mug of boiling water.
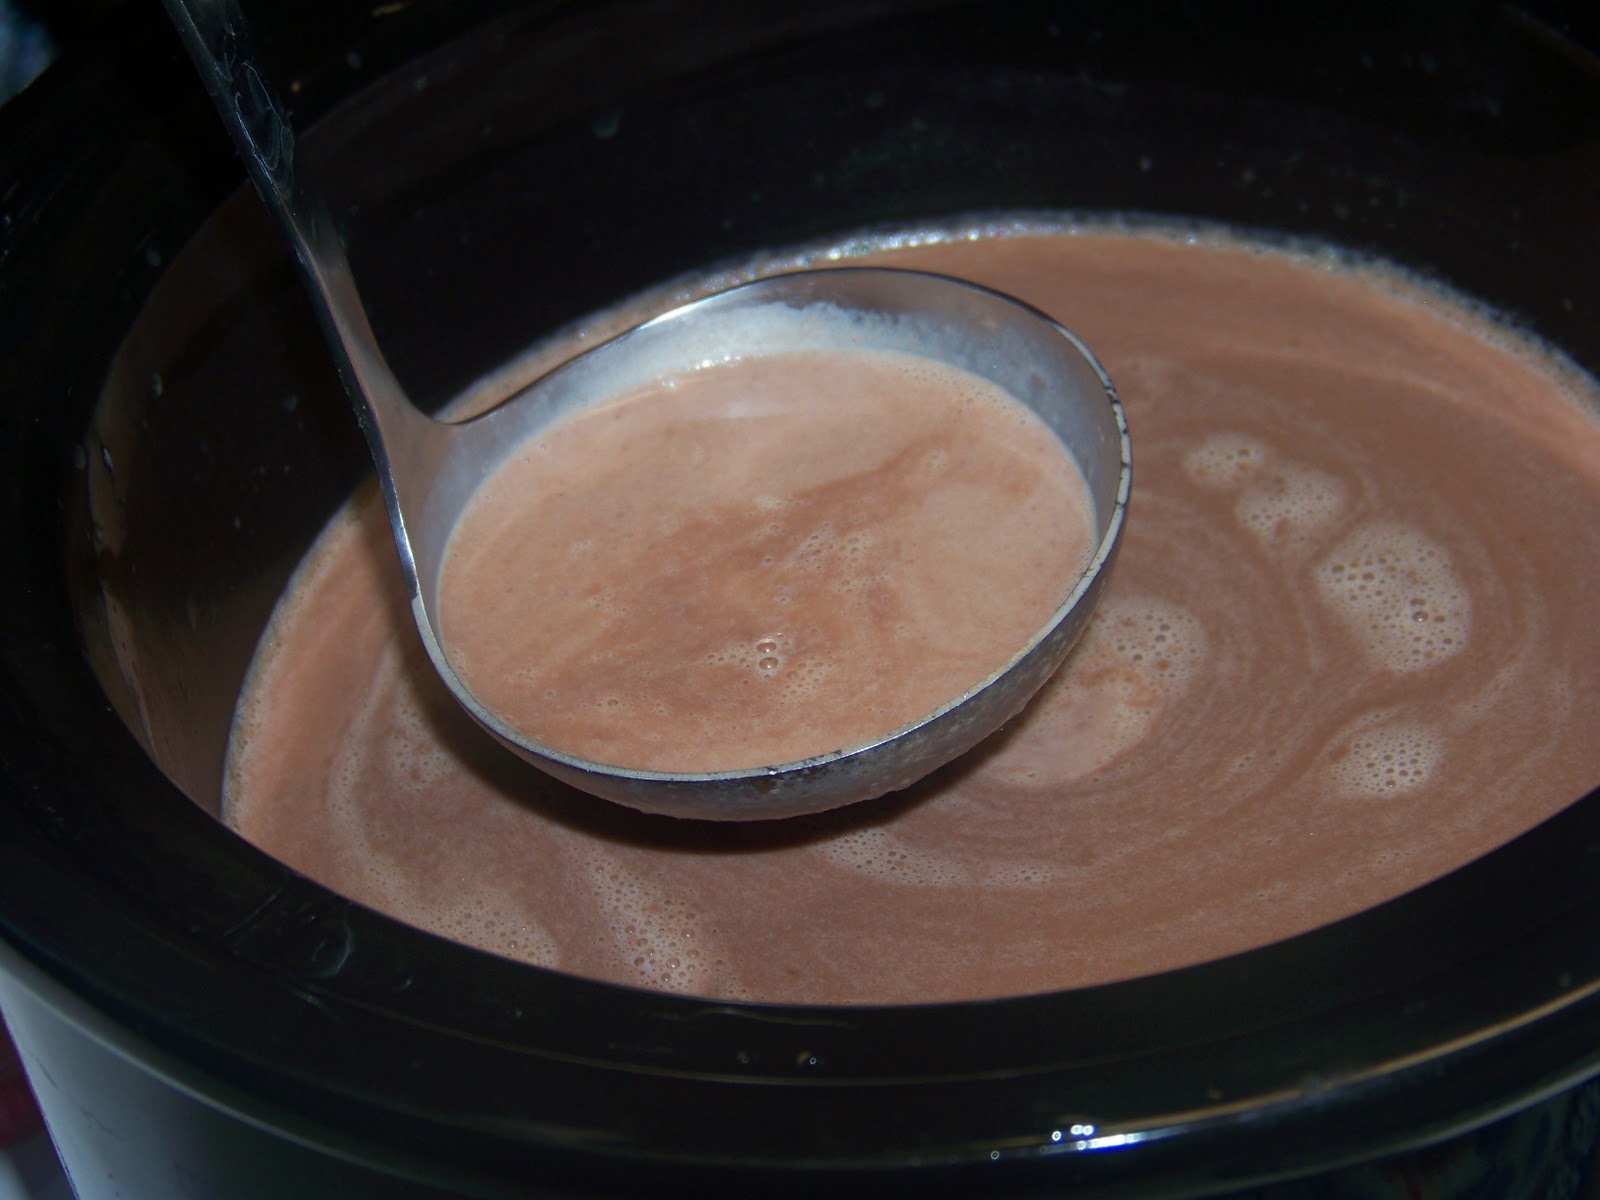
Would you rather enjoy a LARGE crock pot full for the family or guest? Try this rich and creamy version.
Creamy Crock pot Hot Cocoa
Ingredients:
1.5 cups whipping cream
1 14oz can sweetened condensed milk
6 cups milk
1 teaspoon vanilla
2 cups of milk chocolate chips
Instructions: Stir together the whipping cream, milk, vanilla, and chocolate chips in a crock pot. Cover and cook on low for 2 hours, stirring occasionally, until mixture is hot and chocolate chips are melted. Stir again before serving. Garnish as desired.
12 cups of apple juice – I bought a gallon and had a little leftover
6 cinnamon sticks
1/2 cup of good quality jarred caramel sauce, plus more for drizzling
Whipped cream
Directions
Heat apple juice and cinnamon sticks in the slow cooker for about 4 hours on high. Let the cinnamon sticks soften and uncurl. Before serving, stir in 1/2 cup of caramel sauce and serve in heat proof cups. Top with whipped cream and a drizzle of caramel. http://www.number-2-pencil.com/
-Place the onion, rinsed beans, jalapeno, garlic, salt, pepper, and cumin into a slow cooker. Pour in the water and chicken broth and stir to combine. Cook on High for 8 hours, adding more water as needed. Note: if more than 1 cup of water has evaporated during cooking, then the temperature is too high.
-Once the beans have cooked, strain them, and reserve the liquid. Mash the beans with a potato masher, adding the reserved water as needed to attain desired consistency.
-If you want to turn this into a big batch of bean dip, add the following:
2 cups salsa
2 cups shredded Colby Jack cheese
2 cups shredded pepperjack cheese
8 oz. cream cheese
16 oz. sour cream
2 Tbls chili powder
1/2 tsp. ground cumin
Mix in with the beans and let cook a couple hours longer so flavors can blend. Makes a huge batch so just freeze leftovers!
I admit I have a mild obsession with Artisan bread.
These are the pans that I normally make it in.
Then I read a post on how to make it in a crock pot.
Imagine that, Bread in a Crock Pot...
So I tried it.
First you cut parchment paper to fit in the bottom of the crock pot.
Then place the ball of dough that you already let sit for the 12 plus hours to do it's thing.
The original recipe said to cook it/bake it on High for @ 1 hour. I did the first hour then would check the loaf by gently touching it. It seemed "not ready" to me. Like it was still too doughy.
So I would set my timer for 15 minutes then another 15 then 10 then...?
So I am assuming for my first try it ended closer to 2 hours to bake on high.
At least in my crock pot.
This is the loaf after it was done in the crock pot.
Notice how it is still white.
Next step is to brown the top (if you choose too. I would suggest it)
The original recipe said to put it under the broiler for 10 minutes.
My mistake was to walk away from the oven. I wish I would have watched it because 10 minutes ruined everything. It burned it :(
No real big worries. A trick I learned from my childhood or was it newlywed days?
I scrapped the burn off the crust.
So it would probably have looked A LOT better if I had browned it properly.
But, hey, IT WORKED!
As long as I was putting together a batch of Artisan bread, why not do more. So I made one in the crock pot and 2 in the oven.
As long as the oven is heating up the house, might as well get 2 done at a time.
The one on the left is: Zest and Juice of one Orange, Cranraisins, and chopped up Almonds.
The one on the Right is: grated Parmesan cheese and dehydrated onions.
Here are all 3 loaves together.
I feel so bad that I burned the top one. But it was still yummy inside.
Here is a trick I learned.
You know how once you slice the bread, the end that is cut dries out if it isn't put into a bag. Then if you put it in a bag it makes the bread soft. Which for some people is no big deal. Soft bread is good. It's just that to me, Artisan bread is to be crusty.
SO, as you can see, I placed them on their side after they were sliced. It worked. It kept the sliced side perfect, and not dried out. If you don't finish the bread in one sitting then you can place a light cloth over it and it will be fine the next day.
The bread really is best when devoured in the first or second day however.
We had to test each loaf to be able to critique them. Notice how the one on the right was our favorite (orange,cranraisin, almond)